We broke out the pressure washer to clean up some of the yucky green moss on the outside of the fireplace. Then, of course, we thought that the porch could use a little sprucing.

The initial reason for getting the pressure washer out at all was to wash the rocks that we dug out of the yard after making our fancy new fire pit out front.

First we measured how far out the porch will eventually be.

Then select the size you want your firepit to be by finding something round in the yard to use as a template. The green table worked perfect for this.

We placed the rocks (largest first) and then filled in with smaller rocks. When we ran out of rocks but thought the pit wasn't quite complete, we went back to the yard and gathered more.

We pressure washed this and then built our first fire. :)

Then came the distraction! :)
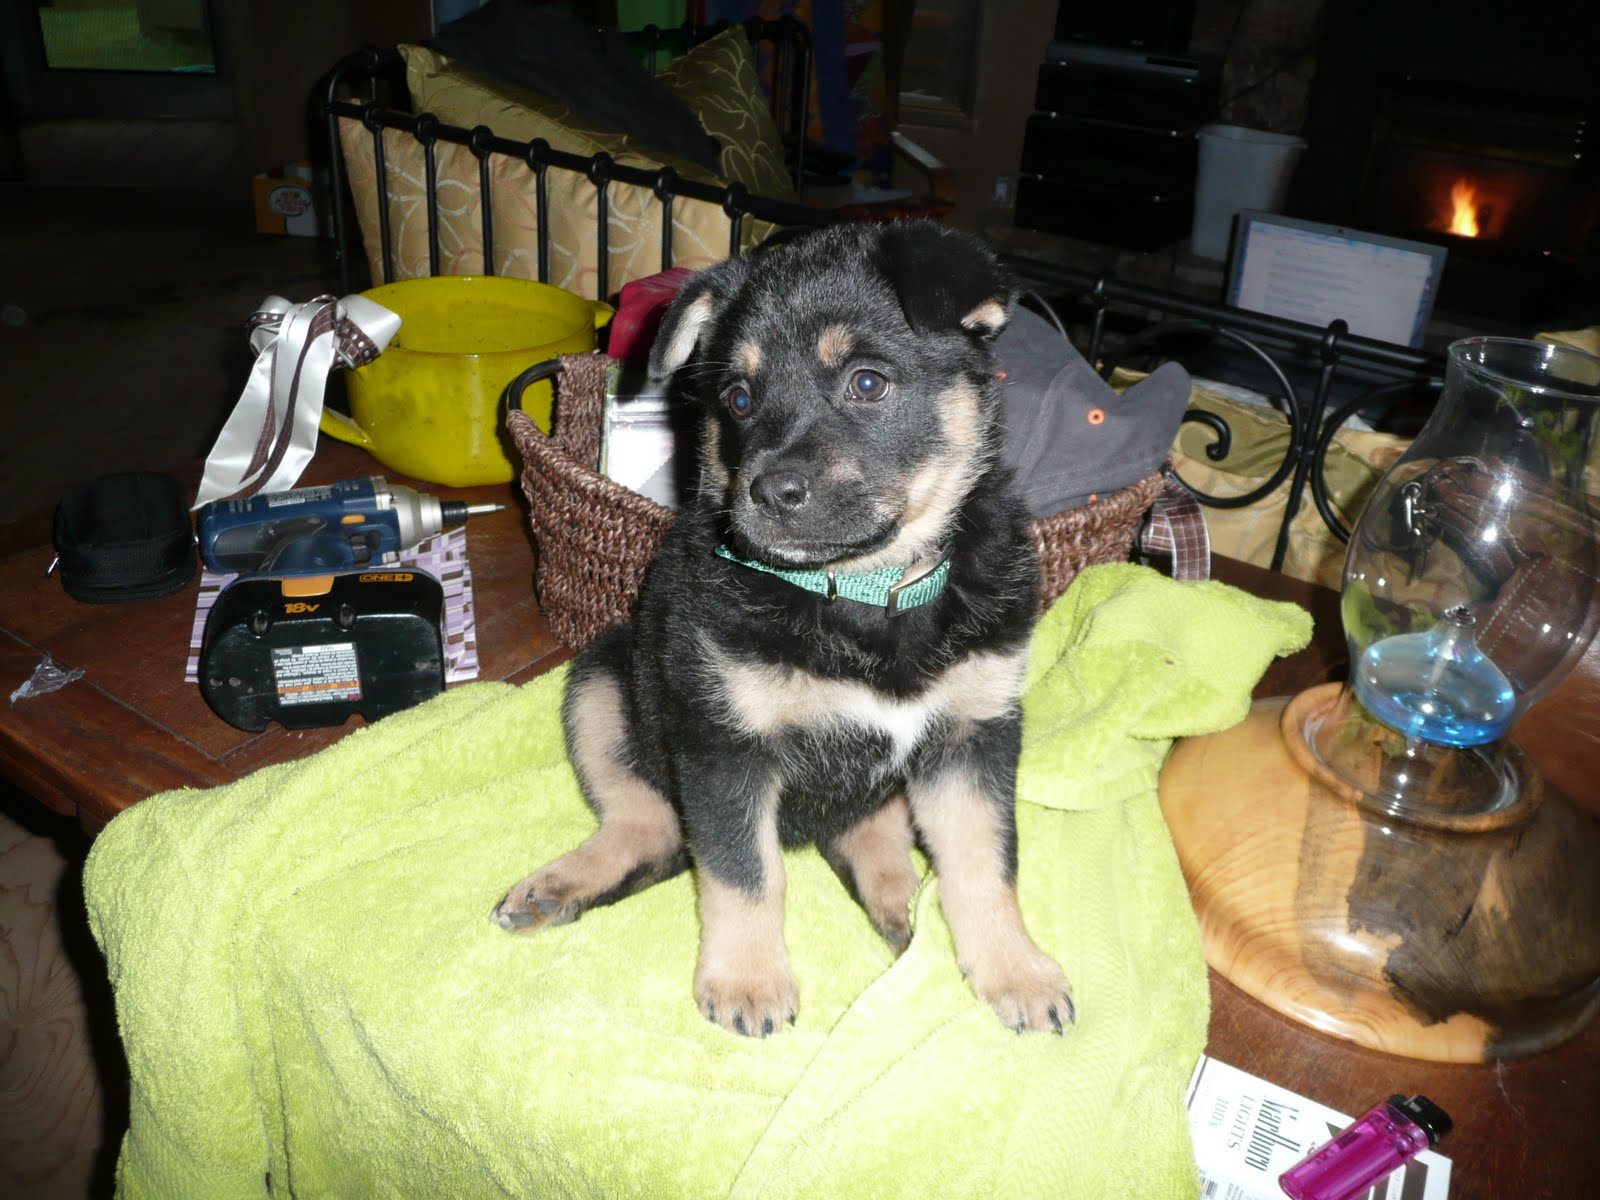
While enjoying one of our first fires in the yard the neighbor comes by with "the pup". Apparently we were meant to foster a dog for a short while and she was very happy to stay with us. She has since been placed with a nice couple in Forest Ranch on 20 fenced acres and I hear she is very happy. The neighbor had named her "precious" but we didn't feel that was going to be appropriate for a dog that will weigh 150 pounds (she is a tibetan mastiff) so we called her "pup".

We spent one saturday cleaning the garage. I am sure you have the same challenge that we have when taking on 150 projects all at the same time. There is a constant flow of tools and materials in and out of the house. Everything extra ends up in the garage!! Look at that floor space!! haha.. it's a beautiful thing.

The best laid plans and all.......
We decided against using the vintage doors that we have collected up. Those are now for sale on Craigslist if anyone is interested.

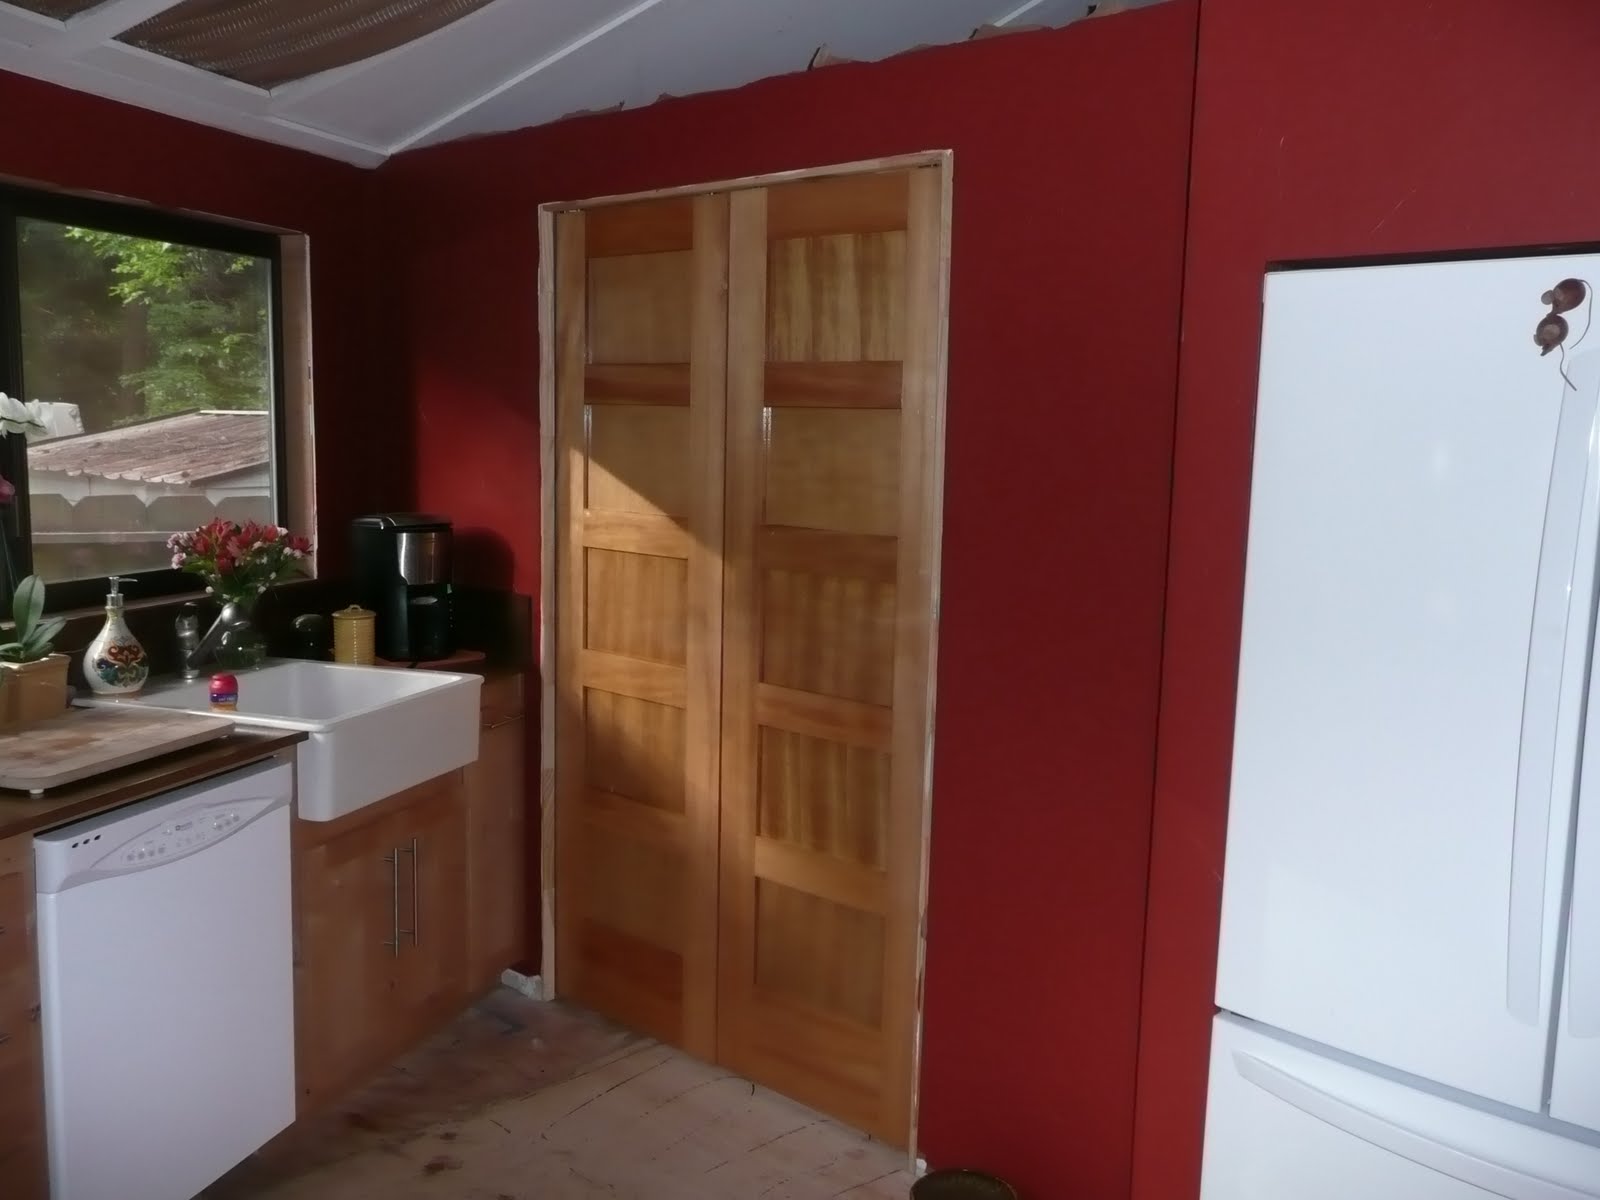
We purchased new these fir doors in the 5 panel craftsman style that we wanted and then used a wiping stain and clear coat on them.

Of course you must test fit everything as soon as you get them home just to make sure.

And here they are "installed", mostly... we still need to fine tune and put the handles on but don't they look nice?? We also put some fabric curtains in the ceiling to cover up the flourescent lights (it will do for now)..

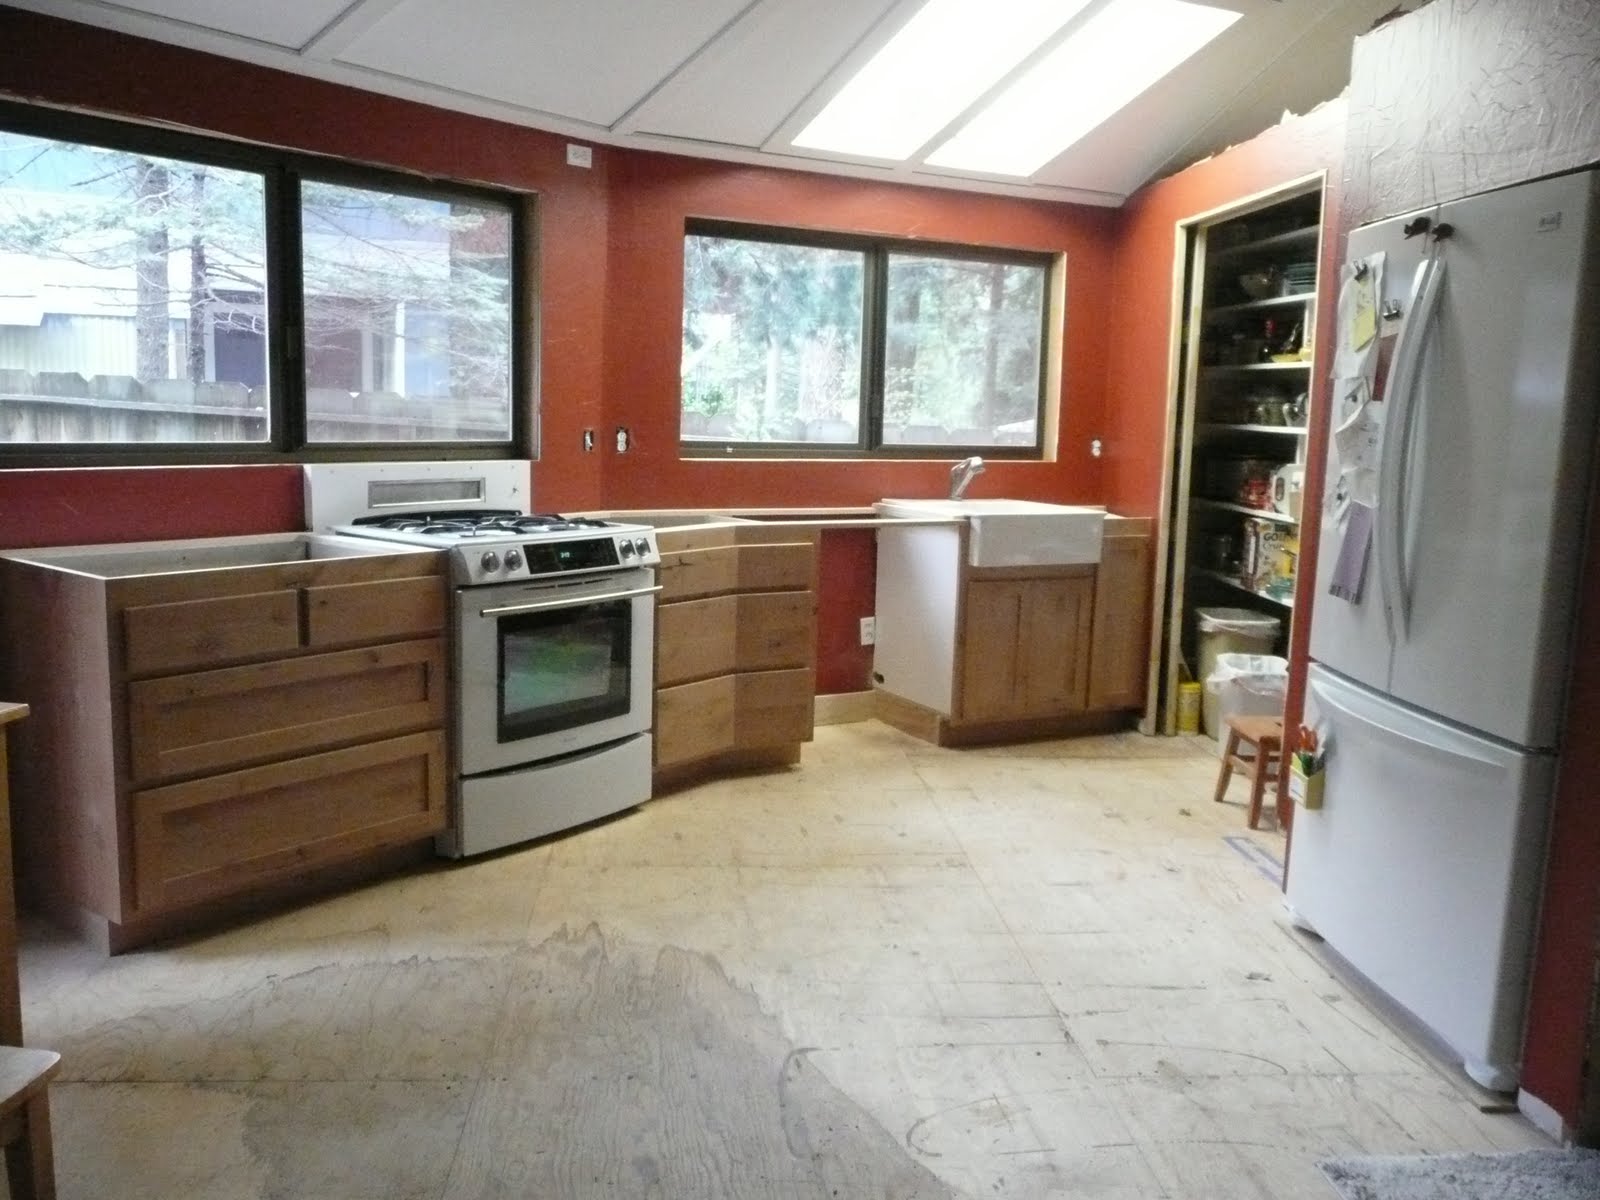
Backsplash was also on the "punch list". It's finally installed and caulked in. In case I didn't mention it on a previous post, we installed the drawer pulls as well.
The list....
Molding for the doors and windows (buy, finish and install)
Stain and hang the laundry door
Install the hardwood floor
Purchase and hang blinds
and..... go on vacation... haha.. our first anniversary is coming up in July... can we finish before we go??
more to follow......
 You can see how tall it is (we estimate about 75 feet) compared to the house. Unfortunately the tree guy came down with the flu and couldn't come. :(
 Plan "B", Remove the front deck... Sounded good to me.
 Removing the railings wasn't so hard... just take out a few million screws and it will just fall right apart...
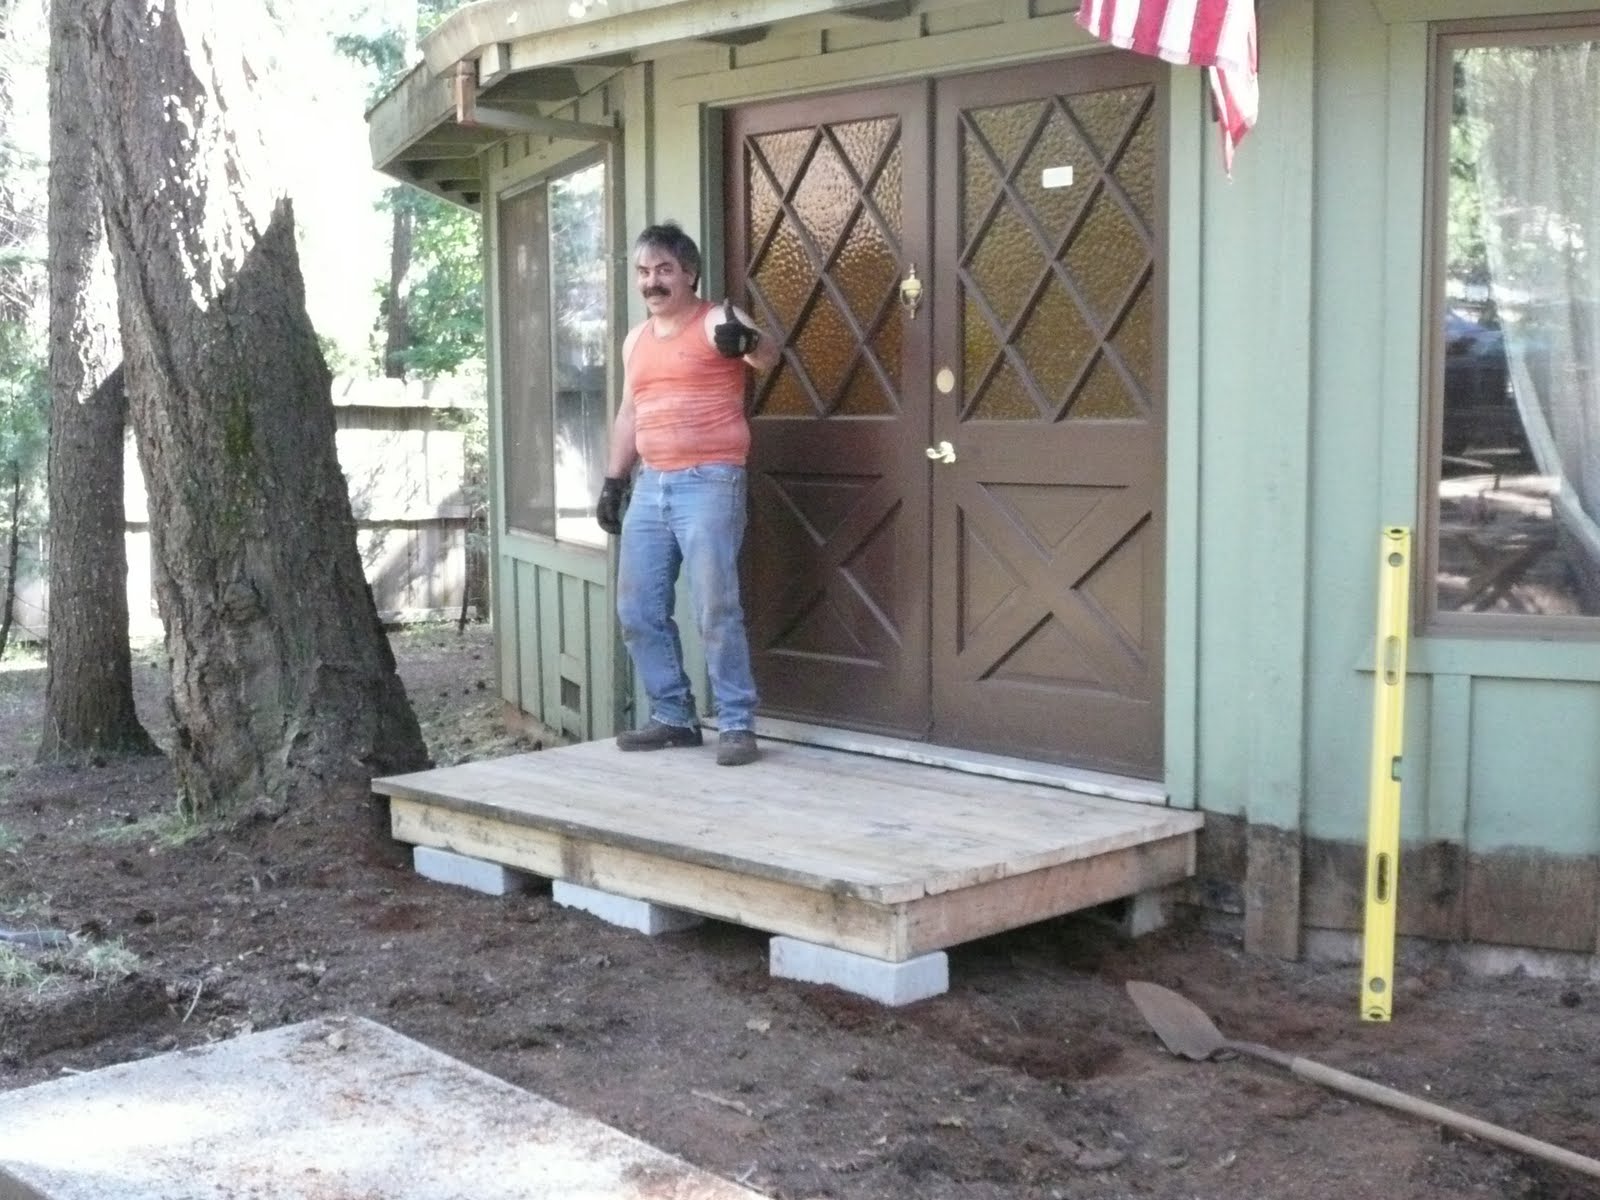
 Take the deck boards off and stack them in a pile to be used for "temporary steps to the front door... pausing briefly to scratch your head as if to say "what the hell did we get ourselves into??"
 All things considered the underside of the deck was in better shape than we expected and since the wood was totally rotten, another trip to the dump is in our very near future.
 Yep! Busted out of there just like 'butter"!
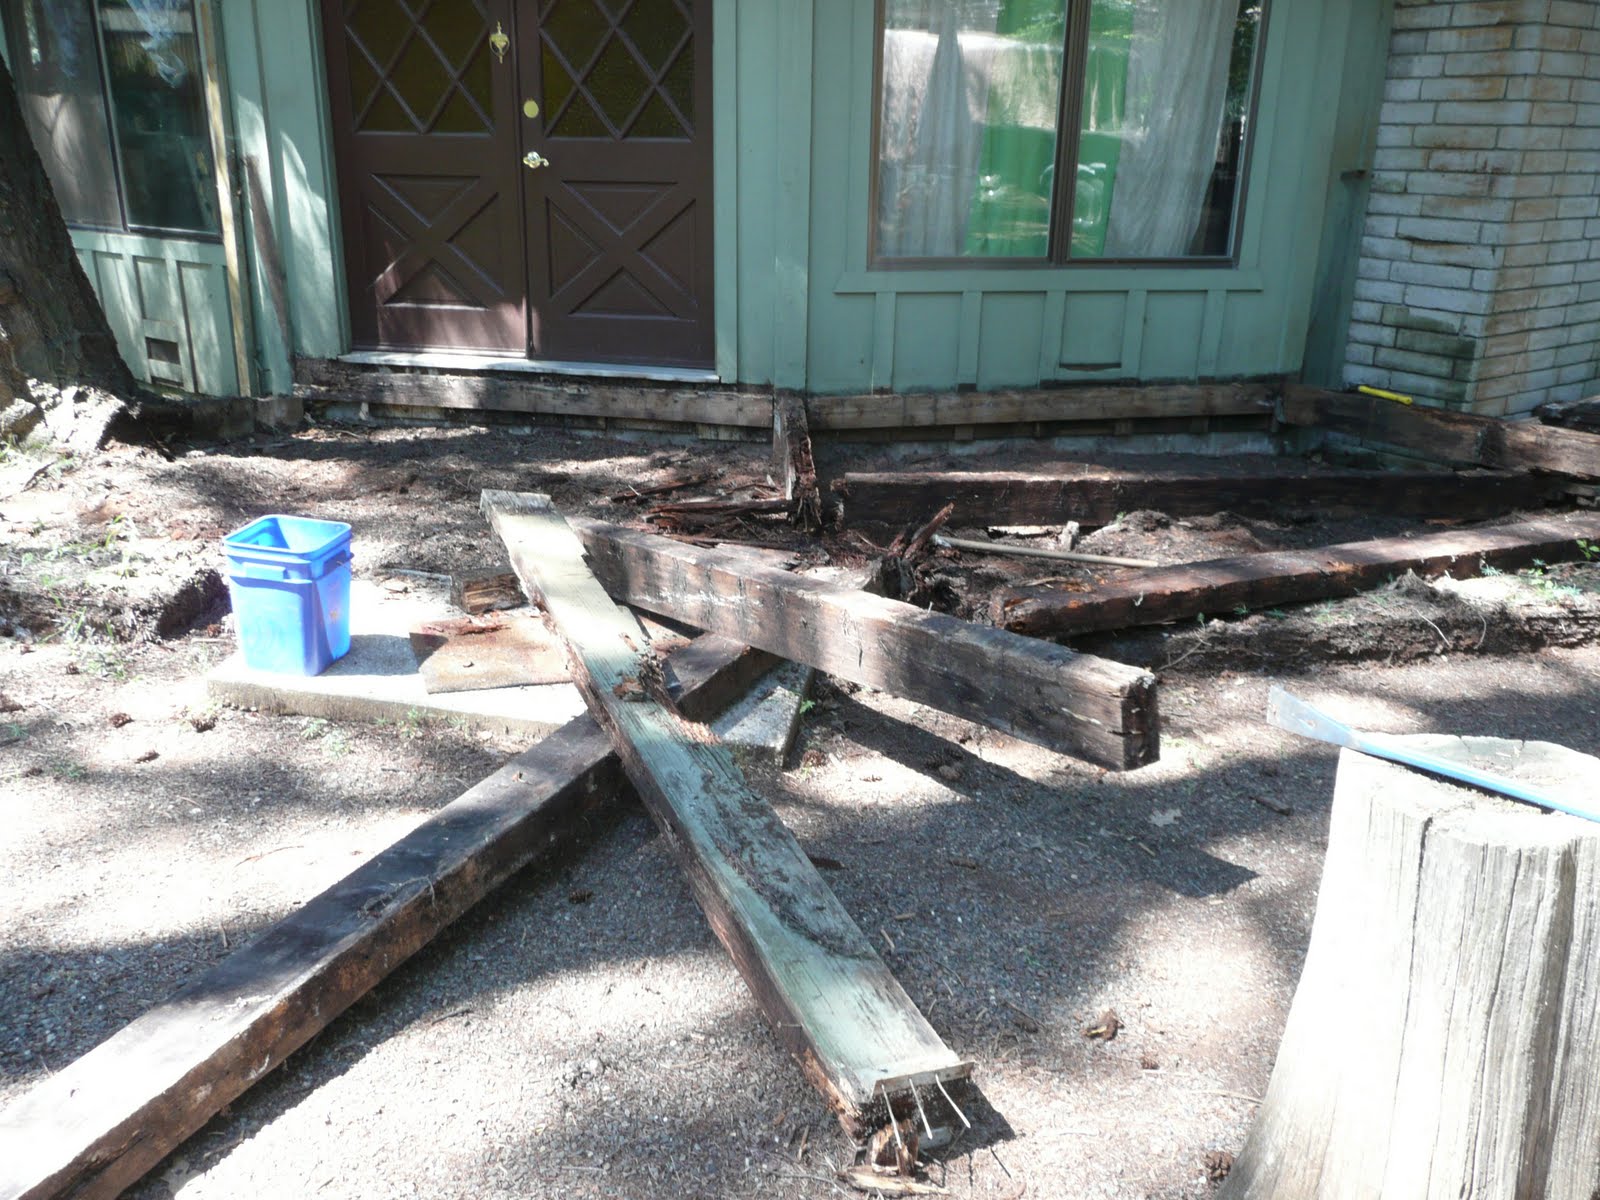 Thank you Harbor Freight and Chicago tools for the Sawzall :) It worked like a charm! The best $20 saw on the market!
 Necessity is the mother of Invention! While I was inside getting another beer for my husband, he built me "magalia hillbillie steps". But ain't they perty!!
 I am at a loss for words as to why the back porch looks like this or what yahoo built it the way they did but it had to be remedied... Steve says that this is why the county requires permits.
 Since we are going to the dump anyway... we thought it would be a good idea to take the porch with us... or at least as much as we could. This is where we stopped when we realized that we can't leave it constructed as is. It has some "engineering flaws" that need to be remedied... Maybe next weekend..
 And a temporary deck was built out front!